Homemade Protein Peanut Butter Cups: Your Favorite Candy, Healthier
Imagine indulging in your favorite childhood candy, the one with that perfect harmony of creamy peanut butter and rich chocolate, but without the guilt. What if we told you it's possible to enjoy this classic treat every day, packed with a beneficial protein boost and made right in your own kitchen? Welcome to the wonderful world of
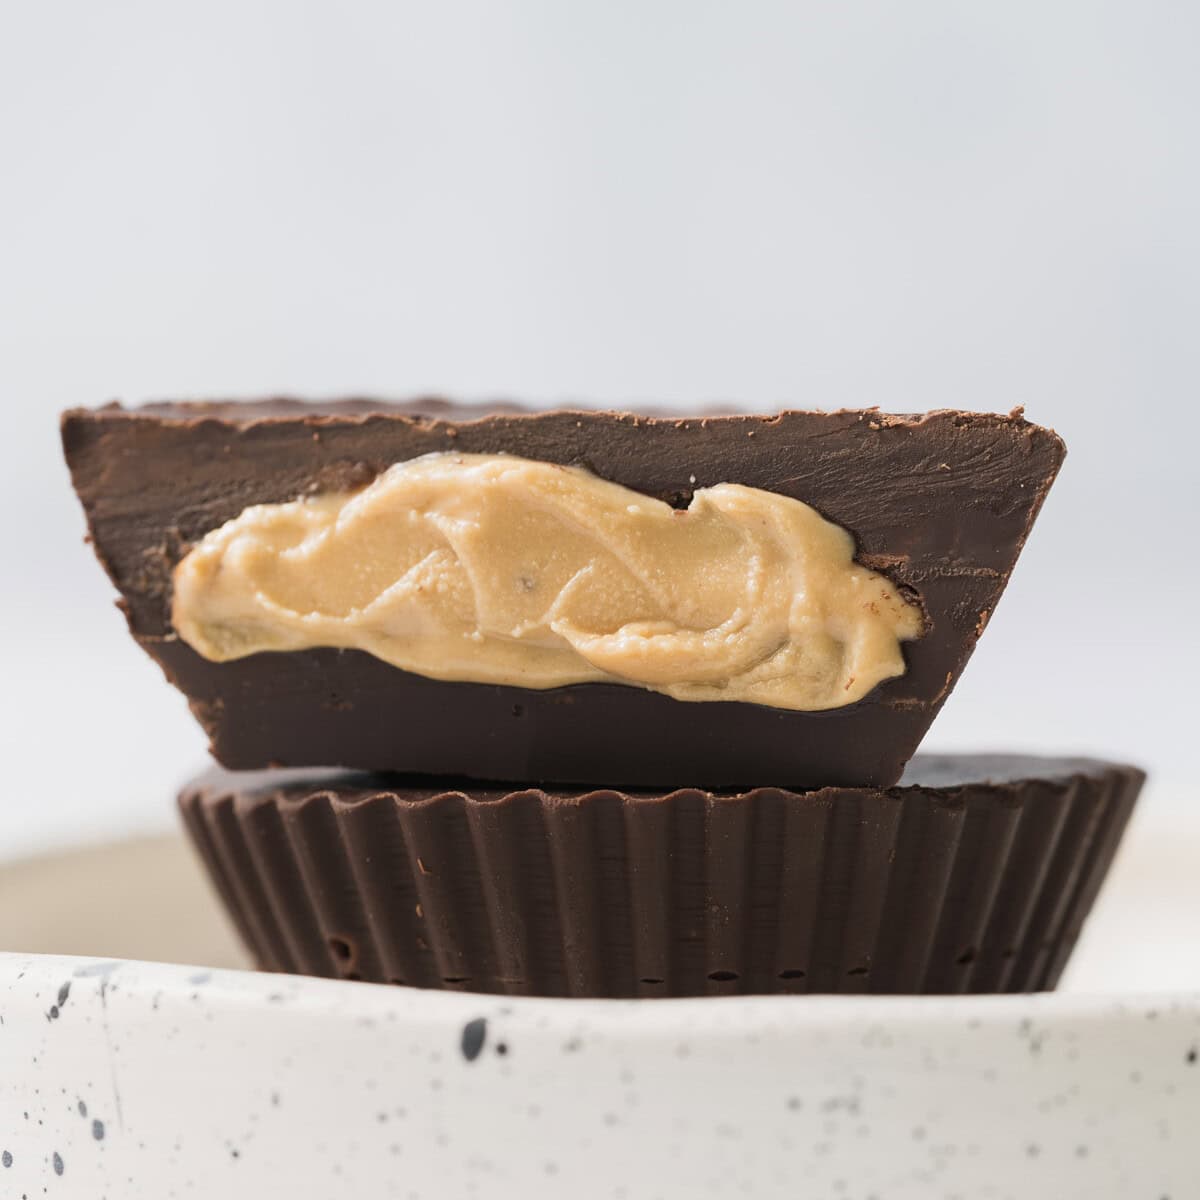
homemade protein peanut butter cups – a healthier, customizable, and incredibly delicious alternative to store-bought indulgences. These no-bake wonders are not just simple to make but actually taste so close to the "real thing" that you might just fool your taste buds into thinking you're having a Reese's!
Why Make Your Own Protein Peanut Butter Cups? The Ultimate Guilt-Free Treat
The allure of a chocolate and peanut butter combination is undeniable, a timeless pairing that satisfies almost any sweet craving. But traditional candy often comes with a hefty dose of sugar and questionable ingredients. This is where homemade
protein peanut butter cups shine, offering a multitude of benefits that elevate them beyond a simple snack:
*
Healthier Indulgence: By making your own, you gain complete control over the ingredients. You can choose natural peanut butter with no added sugars or oils, opt for low-glycemic sweeteners like sugar-free syrup, and select high-quality dark chocolate, significantly reducing the overall sugar content and unhealthy fats often found in commercial versions.
*
Protein Powerhouse: The star ingredient here is, of course, the protein powder. Adding a scoop or two transforms these treats into a functional snack that contributes to satiety, muscle recovery, and sustained energy. It's an excellent way to boost your daily protein intake without relying on savory options.
*
Customization Galore: Have specific dietary needs or preferences? These cups are incredibly adaptable. Go dairy-free with plant-based milk and vegan chocolate, sugar-free with appropriate sweeteners, or experiment with different protein powder flavors (chocolate protein powder in the filling, anyone?). You can even adjust the thickness of your peanut butter and chocolate layers to suit your craving.
*
Cost-Effective & Convenient: While "healthy" snacks can sometimes break the bank, making your own
protein peanut butter cups is often more economical in the long run. Plus, they're a no-bake dessert, requiring minimal kitchen equipment and effort, making them perfect for busy schedules.
*
Uncompromised Flavor: Perhaps the most compelling reason is that these cups truly deliver on taste. Despite their healthier profile, the blend of ingredients creates a flavor and texture that is remarkably similar to your beloved classic candy. As you'll discover in our
Taste Like Reese's: Easy High-Protein Peanut Butter Cups Recipe, you won't feel like you're missing out on anything.
Gathering Your Ingredients: The Foundation of Flavor & Fuel
One of the beauties of this recipe is that it utilizes fairly common pantry staples. Here’s a detailed look at the core components and some valuable insights:
*
Peanut Butter: Aim for natural, creamy peanut butter with minimal ingredients – ideally just peanuts and salt. Avoid brands with added sugars, hydrogenated oils, or emulsifiers, as these can affect both the nutritional profile and the texture of your filling. If using unsalted peanut butter, remember to add the recommended pinch of salt to balance the sweetness.
*
Sweetener:
*
Syrup/Honey: Maple syrup and honey are excellent natural sweeteners, providing a lovely depth of flavor. If you're not concerned about sugar content or calories, these are fantastic choices.
*
Sugar-Free Syrup: For a lower-calorie, sugar-free option, sugar-free pancake or maple syrup works perfectly. Modern sugar-free syrups often have excellent flavor profiles that won't compromise the taste.
*
Milk or Milk Substitute: Any milk will do! Dairy milk works fine, but feel free to use almond milk, soy milk, oat milk, or any other plant-based milk to keep these dairy-free or vegan.
*
Vanilla Extract: Don't skip this! A good quality vanilla extract enhances all the other flavors, adding a warm, aromatic note that elevates the entire experience.
*
Vanilla Protein Powder: This is the game-changer! Vanilla protein powder is highly recommended as its neutral, slightly sweet flavor complements the peanut butter and chocolate perfectly.
*
Whey Protein: Often blends smoothly and provides a creamy texture.
*
Casein Protein: Can result in a slightly thicker, denser filling, which some prefer.
*
Plant-Based Protein: Excellent for vegan options. Be mindful that some plant proteins can impart a slightly "earthy" or gritty texture, so choose a brand you enjoy. You might need a tiny bit more liquid if your plant-based protein absorbs a lot.
*
Salt: A small amount of salt is crucial. It brightens the flavors and beautifully contrasts the sweetness, especially if your peanut butter is unsalted.
*
Chocolate Chips: Dark or semi-sweet chocolate chips are generally preferred for their richer flavor and lower sugar content compared to milk chocolate. You can also use a sugar-free chocolate brand if desired. For the smoothest melt and best coating, a high-quality chocolate makes a difference. A touch of coconut oil can also be added to your melted chocolate to make it silkier and easier to spread.
*
Coconut Flour (Optional): This is your secret weapon if your peanut butter mixture ends up too wet. A tablespoon or two can quickly absorb excess moisture and help achieve that perfect "sand texture."
Crafting Your Perfect Protein Peanut Butter Cups: A Step-by-Step Guide
Making these delectable
protein peanut butter cups is a straightforward process, requiring just a few simple steps. Let's dive in!
Step 1: Prepare the Irresistible Peanut Butter Base
In a small mixing bowl, or if you're making a larger batch, a stand mixer, combine the following:
* 1/2 cup natural peanut butter
* 2 tablespoons syrup or honey (sugar-free or maple)
* 1 ounce milk or milk substitute
* 2 teaspoons vanilla extract
* 2 scoops vanilla protein powder
* 1/2 teaspoon salt (if using unsalted peanut butter)
Mix these ingredients thoroughly until everything is well combined. The texture is key here: it should be a bit *gritty*, not completely smooth, resembling a "sand texture." If your mixture is a bit too wet or sticky after mixing, gradually add in one tablespoon of coconut flour at a time, mixing until you achieve that desired crumbly, sand-like consistency that's easy to handle. This texture ensures your peanut butter layer holds its shape perfectly and isn't too sticky.
Step 2: Get Your Cups Ready
You'll need paper or silicone cup liners. While paper liners work,
silicone liners are a game-changer for this recipe. They allow you to easily peel down the edges without tearing or damaging your beautifully formed cups, ensuring a pristine finish every time. Place your chosen liners onto a baking sheet or a flat tray that can be easily transferred to the fridge or freezer. This recipe typically yields about 8 larger-than-average cups, which are roughly double the size of a standard Reese's cup. If you prefer smaller, more traditional sizes, you can make about 16 thinner cups from the same batch.
Step 3: Form the Peanut Butter Layer
Evenly distribute your peanut butter mixture among the prepared liners. Using your hands, firmly press the mix into each cup, compacting it until the top is flat and smooth. The "gritty" texture you achieved earlier means the mixture won't stick to your hands, making this process quick and mess-free – usually taking only 10-15 seconds per cup.
Step 4: Melt the Decadent Chocolate Topping
Now for the glorious chocolate! You'll need about 1/4 cup of chocolate chips (dark or semi-sweet work best).
*
Microwave Method: Place the chocolate chips in a microwave-safe bowl. Microwave in 30-second intervals, stirring thoroughly after each interval, until the chocolate is smooth and completely melted. Be careful not to overheat to prevent burning.
*
Stovetop Method (Double Boiler): If you don't have a microwave or prefer a stovetop method, place a heat-safe bowl over a pot of simmering water. Ensure the bottom of the bowl does not touch the water. Add your chocolate chips to the bowl and stir continuously over low heat until the chocolate is fully melted and smooth. For an even silkier consistency, stir in 1/2 teaspoon of coconut oil into the melted chocolate.
Step 5: The Chocolate Finish
Once your chocolate is melted, spoon approximately 1/2 tablespoon of the melted chocolate over the top of each peanut butter cup. Use the back of your spoon to gently smooth out the chocolate, creating an even, thin layer that coats the entire surface. You should have just enough chocolate to cover all 8 cups. For an extra touch of gourmet, sprinkle a tiny pinch of flaky sea salt on top of the wet chocolate before it sets – it truly enhances the flavors!
Step 6: Chill and Enjoy!
Carefully transfer your baking sheet with the cups into the refrigerator or freezer. Allow them to chill for at least 30-60 minutes, or until the chocolate has fully set. Once firm, they are ready to be devoured! For more no-bake protein-packed ideas, explore our guide on
No-Bake Protein Peanut Butter Cups: Simple Recipe for Sweet Cravings.
Tips for Success & Customization
To ensure your
protein peanut butter cups are consistently perfect and to explore fun variations, consider these expert tips:
*
Choose Your Protein Wisely: The type and flavor of your protein powder can significantly impact the final taste and texture. While vanilla is a classic, try unflavored for maximum peanut butter essence, or even a chocolate protein powder for an extra cocoa kick in the filling.
*
Don't Over-Mix the Chocolate: When melting chocolate, gentle stirring is key. Over-mixing, especially in the microwave, can cause it to seize or burn. Low and slow is always the best approach.
*
Portion Control: While it's tempting to make giant cups, remember that these are dense and rich. Making smaller, bite-sized cups can help with portion control and makes them perfect for a quick energy boost.
*
Get Creative with Toppings: Beyond sea salt, consider adding a sprinkle of chopped nuts, shredded coconut, mini chocolate chips, or even a drizzle of white chocolate after the main layer has set.
*
Dietary Adaptations: For a completely vegan version, ensure your protein powder is plant-based, your milk is dairy-free, and your chocolate chips are certified vegan. Many brands now offer excellent sugar-free chocolate options for those managing sugar intake.
*
Storage is Key: These protein peanut butter cups store beautifully in the freezer for up to 3 months. Storing them in the freezer also helps maintain their firm texture and prevents them from getting too soft, especially on warmer days. They taste fantastic straight from the freezer too!
Conclusion
These homemade
protein peanut butter cups are more than just a recipe; they're an invitation to rediscover your favorite candy in a whole new, healthier light. Easy to make, endlessly customizable, and bursting with the classic flavors you love, they offer a guilt-free way to satisfy your sweet tooth while boosting your protein intake. Whether you're a fitness enthusiast, looking for healthier snack options, or simply craving that unbeatable chocolate and peanut butter combination, these cups are sure to become a staple in your freezer. So, gather your ingredients, follow these simple steps, and prepare to enjoy an indulgence that truly nourishes. Your taste buds (and your macros) will thank you!