Taste Like Reese's: Easy High-Protein Peanut Butter Cups Recipe
Imagine sinking your teeth into that iconic blend of rich chocolate and creamy peanut butter, a flavor profile beloved by generations. Now, imagine if that indulgence wasn't just a treat, but also a clever way to boost your protein intake and fuel your body. This isn't a dream! We're here to show you how to create the most incredible, high-protein peanut butter cups that taste so remarkably close to your favorite store-bought candy, you might just make them a daily ritual. Forget the guilt, embrace the gain, and prepare for a simple, no-bake recipe that transforms a classic into a macro-friendly masterpiece.
Why Make Your Own Protein Peanut Butter Cups?
The allure of chocolate and peanut butter is undeniable, a truly perfect pairing that satisfies sweet cravings like no other. But traditional peanut butter cups, while delicious, often come packed with sugar and processed ingredients, offering little nutritional value beyond a quick energy spike. This is where the magic of homemade
protein peanut butter cups comes in.
By making them yourself, you gain complete control over the ingredients, ensuring you're fueling your body with quality components. The star of our show, protein powder, elevates these treats from mere dessert to a functional snack or a post-workout recovery aid. Think about it: a delicious bite that not only curbs your sweet tooth but also contributes to muscle repair, satiety, and sustained energy levels.
Beyond the protein boost, crafting these at home allows for customization. You can choose natural peanut butter without added sugars, opt for sugar-free sweeteners, and select your preferred type of chocolate. This means a healthier, often more cost-effective, alternative to store-bought options or even dedicated "protein bars" that might not taste as good. It's a game-changer for anyone looking for a guilt-free indulgence that aligns with a healthy lifestyle. If you're passionate about transforming your favorite sweets into healthier, homemade versions, explore our guide on
Homemade Protein Peanut Butter Cups: Your Favorite Candy, Healthier for more insights into the benefits and joy of creating these delightful treats.
Crafting Your Perfect Peanut Butter Filling: The Key to Authentic Flavor
The heart of any great peanut butter cup is, naturally, its peanut butter filling. Our high-protein version aims for that quintessential, slightly gritty, sweet, and nutty texture that makes the "real thing" so irresistible. And the best part? It’s incredibly simple to whip up.
You'll need a mixing bowl, or if you're planning a larger batch or find peanut butter notoriously stubborn, a stand mixer can be a real time-saver. Personally, I find a good old-fashioned mixing bowl and a sturdy spoon offer a great arm workout!
Here's what goes into that delectable filling:
- 1/2 cup Peanut Butter: Opt for natural peanut butter for less added sugar, but any creamy variety will work. If using unsalted peanut butter, definitely add the salt.
- 2 tablespoons Syrup or Honey: Sugar-free maple syrup is excellent for keeping calories and sugar down. However, pure maple syrup or honey also work beautifully, adding a richer, more complex sweetness. The nutritional profile will vary slightly, but both offer fantastic flavor.
- 1 ounce Milk or Milk Substitute: Any milk will do – dairy, almond, oat, or soy. This helps bind the ingredients and achieve the right consistency.
- 2 teaspoons Vanilla Extract: Essential for that warm, inviting aroma and depth of flavor.
- 2 scoops Vanilla Protein Powder: Vanilla is highly recommended as it complements the peanut butter and chocolate perfectly without overpowering them. Whey protein works wonderfully here, but you can experiment with casein or plant-based protein powders. Just be aware that different protein types can affect the final texture slightly, so you might need minor adjustments.
- 1/2 teaspoon Salt: Crucial for balancing the sweetness and enhancing the peanut butter flavor, especially if your peanut butter is unsalted.
- Optional: 1 tablespoon Coconut Flour: This is your secret weapon if your mixture turns out a bit too wet. It’s highly absorbent and will help achieve that perfect sandy, yet compactable, texture.
Combine all these ingredients in your bowl and mix thoroughly. You're aiming for a consistency that's somewhat granular, almost like wet sand, not completely smooth. This "sand texture" is key to mimicking the classic candy experience. If your mixture feels too sticky or wet after mixing, gradually add the coconut flour, one tablespoon at a time, until you reach that ideal, firm-yet-crumbly texture that won't stick to your hands.
Once your filling is ready, it's time to prep for assembly. Grab a baking sheet and line it with either silicone or paper cupcake liners. I wholeheartedly recommend
silicone liners for this recipe. They are reusable, durable, and most importantly, they peel away from your finished cups effortlessly, preventing any dreaded tearing or sticking. These little gems are a small investment that will pay dividends in frustration-free snacking!
Evenly distribute your peanut butter mixture into the liners. How many you make is up to you – 8 cups will yield a size roughly double that of a standard Reese's, offering a substantial snack. For a closer resemblance to the original size, aim for 16 smaller cups. Use your hands to firmly press the mixture into the bottom of each liner, ensuring it’s compacted and flat on top. This takes mere seconds per cup, and the gritty texture ensures minimal stickiness.
The Chocolate Coating: A Crucial Finishing Touch
No
protein peanut butter cup is complete without its signature chocolate shell. This final layer not only provides that glorious chocolatey crunch but also locks in the delicious peanut butter filling.
For the chocolate, you'll need about
1/4 cup of chocolate chips. Dark or semi-sweet chocolate chips are often preferred as they offer a nice contrast to the sweet peanut butter, but milk chocolate can certainly be used if that's your preference. High-quality chocolate chips will undoubtedly give you the best flavor and melting consistency.
There are two primary ways to melt your chocolate:
- Microwave Method: This is the quickest and easiest. Place your chocolate chips in a microwave-safe bowl. Microwave in 30-second intervals, stirring thoroughly after each interval. Continue this process until the chocolate is smooth and fully melted. Be careful not to overheat, as chocolate can seize and become grainy.
- Stovetop Method (Double Boiler): If you don't have a microwave or prefer a gentler melting process, use a double boiler. Place a heat-proof bowl over a small saucepan of simmering water, ensuring the bottom of the bowl does not touch the water. Add your chocolate chips to the bowl and stir continuously over low heat until melted and smooth. This method offers more control and less risk of burning.
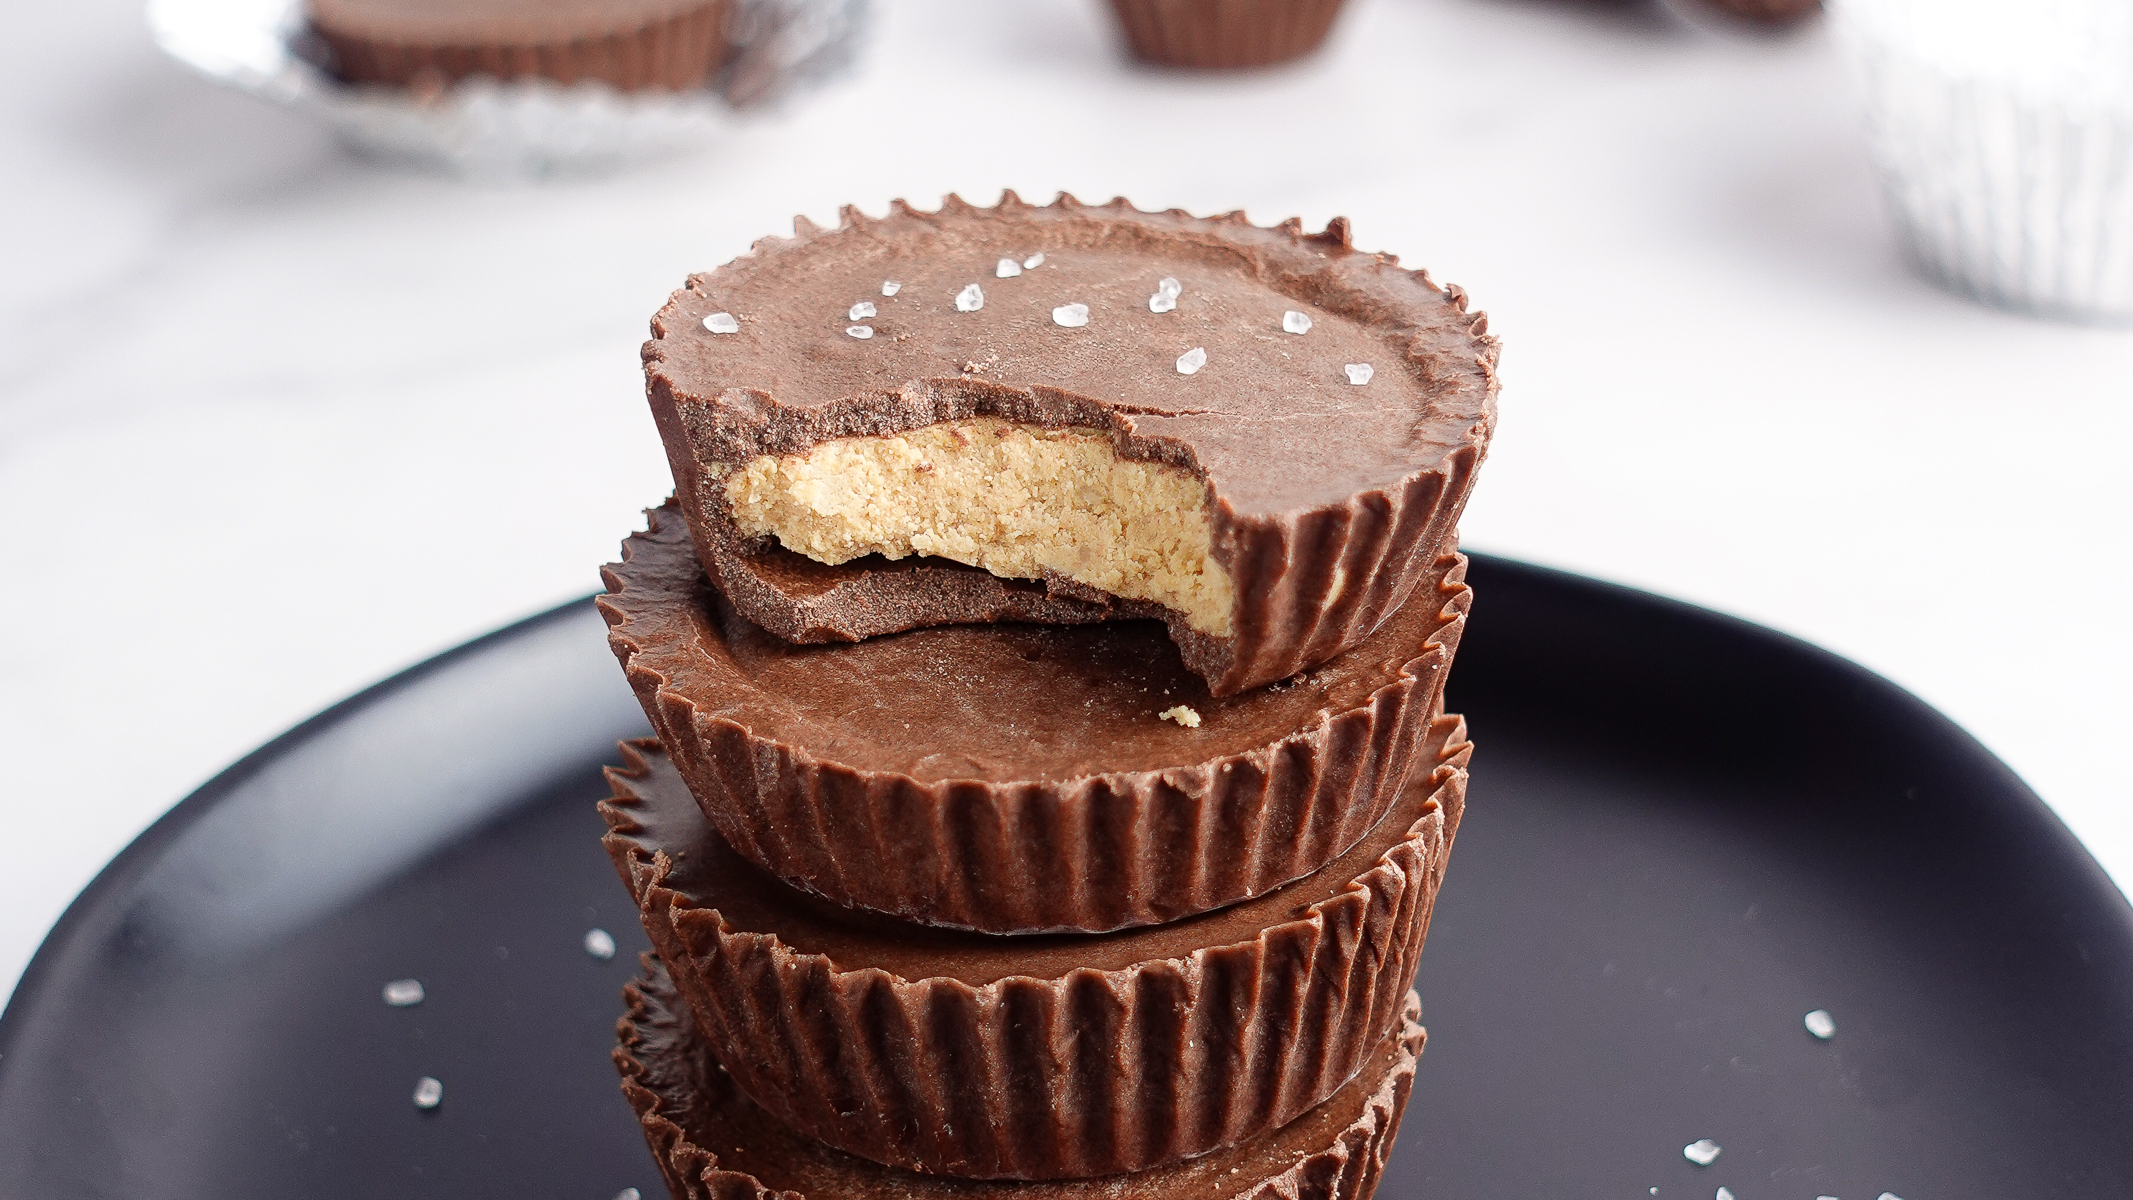
Once your chocolate is perfectly melted, it's time to cap your peanut butter cups. Carefully spoon about 1/2 tablespoon of melted chocolate over the top of each peanut butter base. Use the back of your spoon to gently smooth out the chocolate, creating an even layer across the top. You should have just enough chocolate to generously cover all 8 larger cups. For an extra touch of gourmet flair, sprinkle a pinch of flaky sea salt on top before the chocolate sets – it beautifully enhances both the chocolate and peanut butter flavors.
Storage & Serving Suggestions: Maximize Freshness and Enjoyment
After applying the chocolate topping, your almost-complete
protein peanut butter cups need to firm up. Transfer the baking sheet with your cups into the refrigerator for about 30-60 minutes, or into the freezer for 15-30 minutes. The freezer works much faster and is generally my preferred method, especially if I'm eager to enjoy them quickly!
Once firm, peel them out of their silicone liners (see why they're the best?) and they're ready to enjoy!
For storage, these protein powerhouses are incredibly versatile:
- Refrigerator: Store in an airtight container in the fridge for up to a week. They maintain a slightly softer, chewier texture this way.
- Freezer: For longer storage, freeze them in an airtight container for up to 3 months. This makes them perfect for meal prepping healthy snacks in advance. Simply grab one from the freezer whenever a craving strikes.
When serving from the freezer, you can either enjoy them frozen (they have a delightful, almost ice-cream-like consistency), or let them thaw for 5-10 minutes at room temperature for a softer bite. They make an excellent grab-and-go snack, a satisfying dessert, or even a pre or post-workout treat that truly hits the spot.
Don't be afraid to experiment with variations too! Swap out peanut butter for almond butter or cashew butter for a different flavor profile. Try different protein powder flavors like chocolate or cookies and cream in the filling. You could even fold in mini chocolate chips or chopped nuts into the peanut butter mixture for added crunch and texture. The possibilities are endless, making this recipe incredibly adaptable to your preferences and dietary needs. If you’re looking for more quick and effortless ways to satisfy your sweet tooth with wholesome ingredients, our article
No-Bake Protein Peanut Butter Cups: Simple Recipe for Sweet Cravings offers even more inspiration for these easy, no-bake delights.
In conclusion, these high-protein peanut butter cups are more than just a recipe; they're a testament to how simple ingredients, combined with a little creativity, can transform an indulgent classic into a genuinely nourishing and incredibly satisfying treat. They’re quick to make, packed with protein, endlessly customizable, and boast a flavor that will have you convinced you’re eating the "real thing." Say goodbye to unhealthy cravings and hello to your new favorite healthy snack that truly tastes like Reese's! Give them a try – your taste buds and your body will thank you.